Crafts experience

〜I built a motorcycle based on Prince's "Purple Rain" in Japan, so I'll show you the process of making it.〜

English edition

Builds replica of Prince’s “Purple Rain” motorcycle CM400 in Japan(No. 3)

投稿日:2026年3月2日 更新日:


I’m building a motorcycles for Prince “Purple Rain”(No. 3)

☆Click here for the First article ☆
☆Click here for the completed motorcycle☆

From this time, we will proceed with the work to bring the exterior closer to the “Purple Rain” motorcycle.
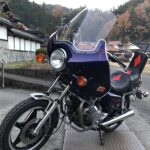
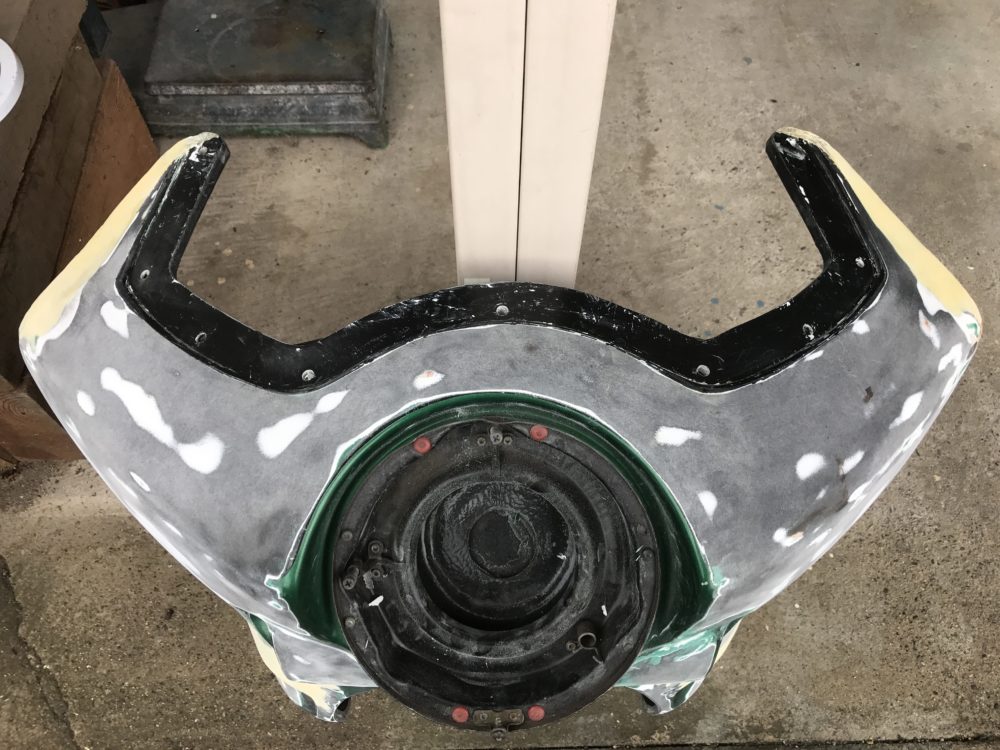
First, change the cowling from the current “Windjammer 4” to “Windjammer 2 or 3” and modify it.


プリンスパープルレイン バイク prince purplerain motorcycle

プリンスパープルレイン バイク prince purplerain motorcycle

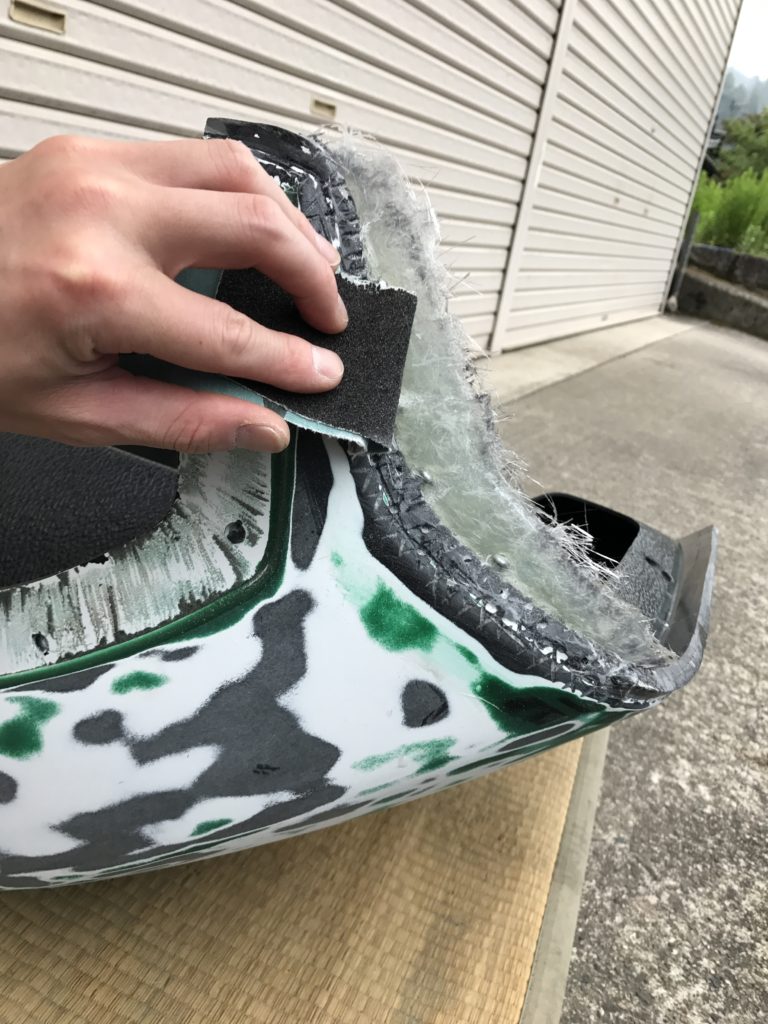
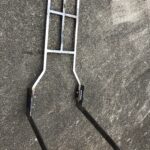
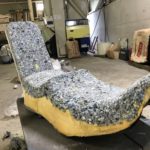
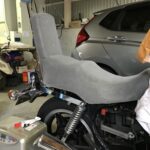
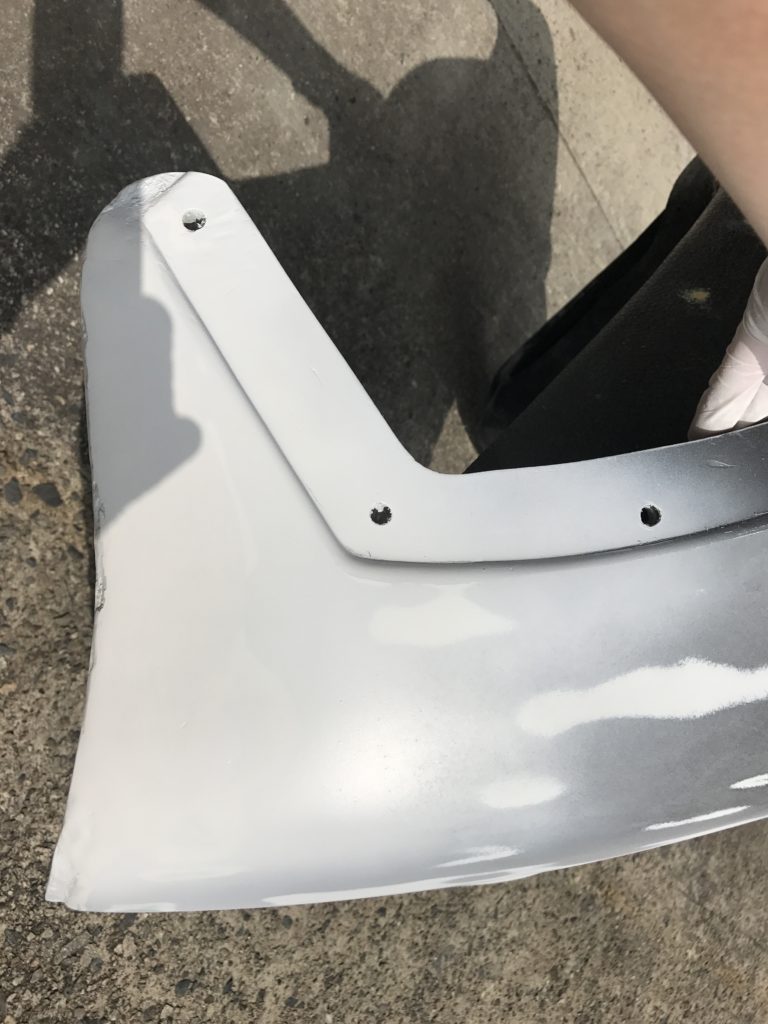
The original paint is removed and the corners are rounded. Is the cowling material ABS? Make a rough shape with FRP. I put a screw in the joint to reinforce it.

プリンスパープルレイン バイク prince purplerain motorcycle

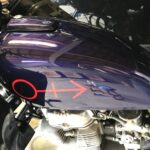
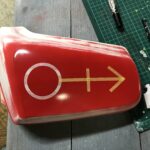
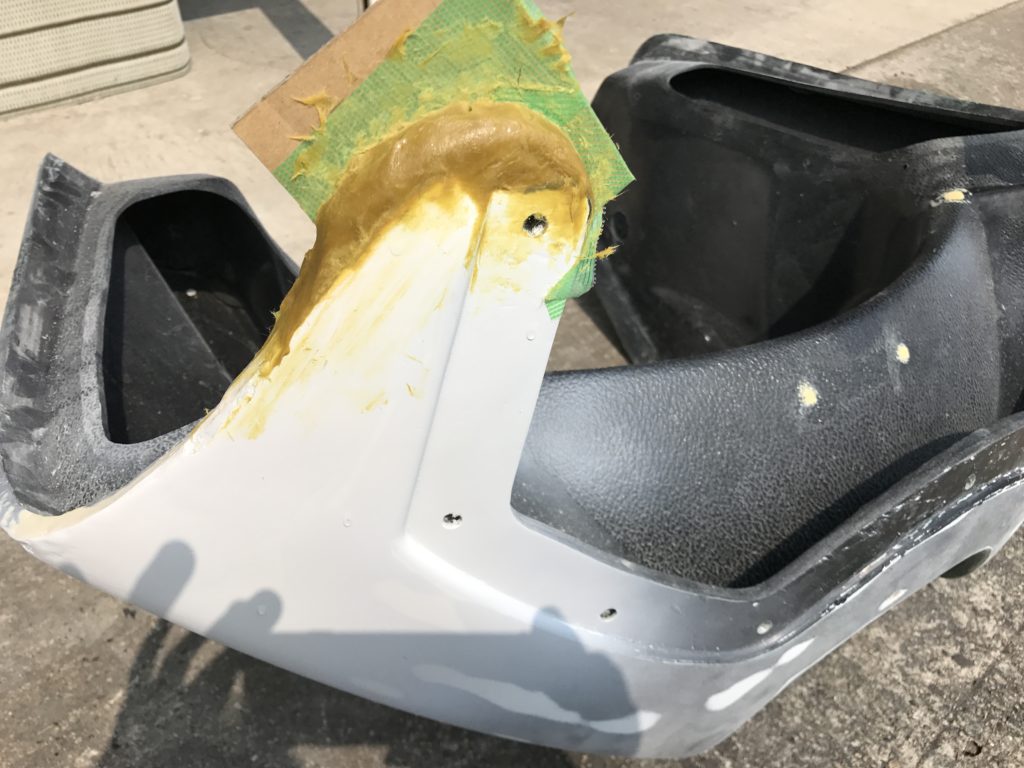
Then put putty on the surface of FRP. Also, in order to change the position of the lower part of the blinker to the rear, I embedded the part where the blinker was originally. The cowling of “Purple Rain” seems to be considerably refurbished.
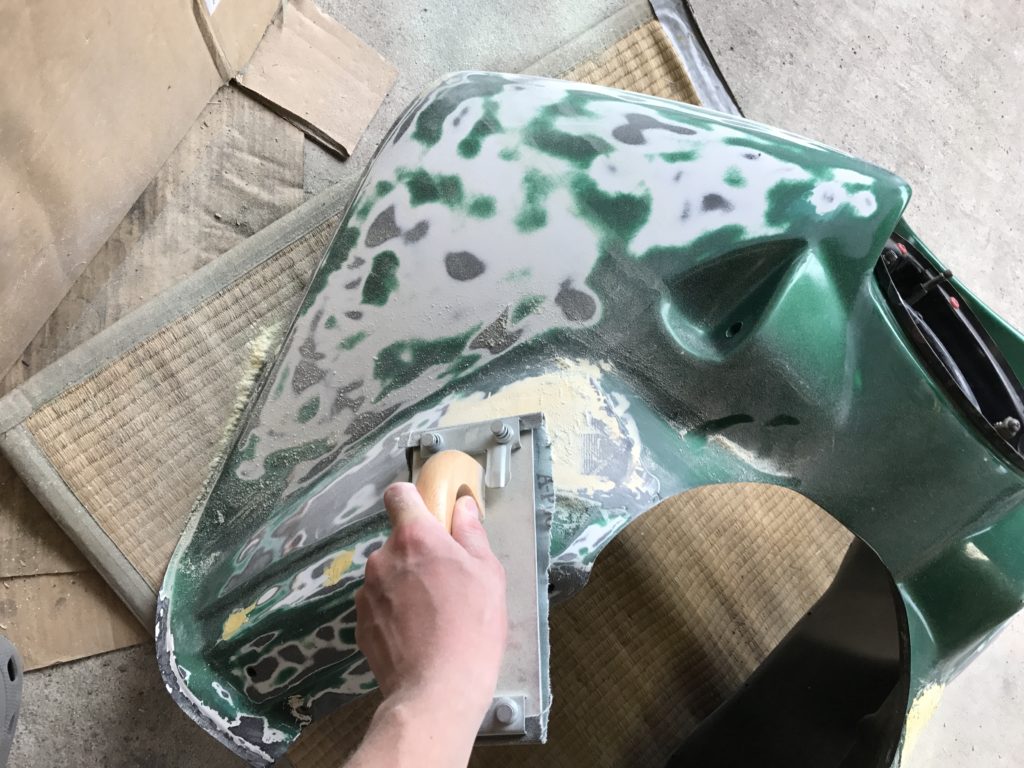
プリンスパープルレイン バイク prince purplerain motorcycle

Cut the putty part.

プリンスパープルレイン バイク prince purplerain motorcycle

プリンスパープルレイン バイク prince purplerain motorcycle

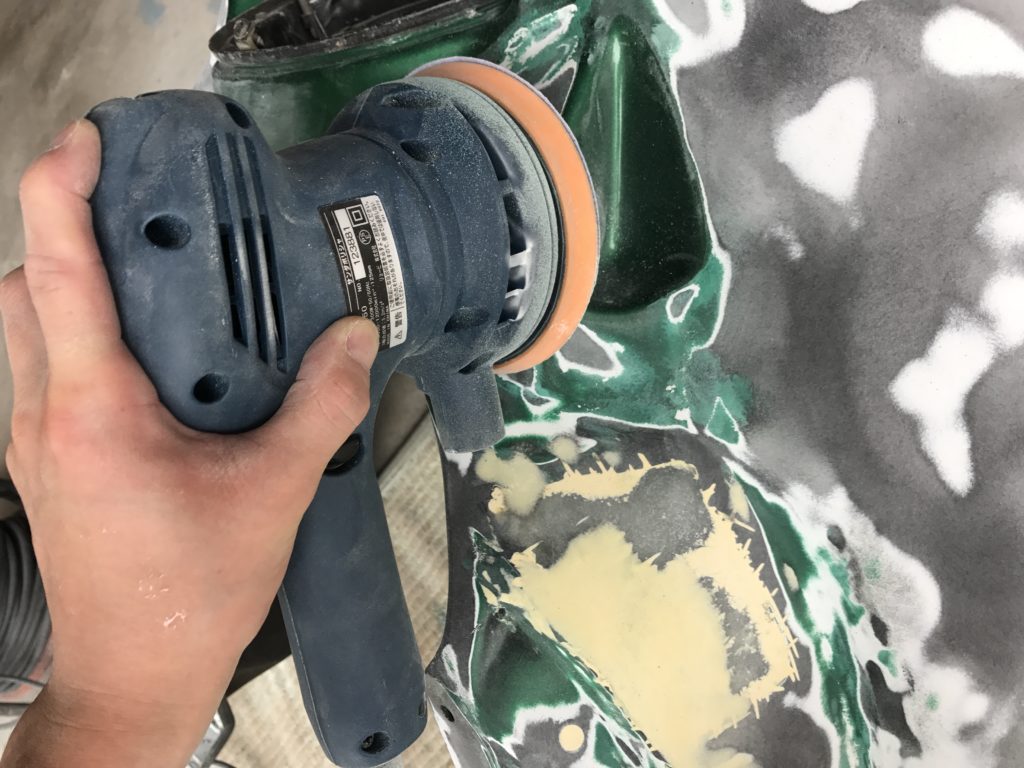
Power tools are convenient.

プリンスパープルレイン バイク prince purplerain motorcycle


プリンスパープルレイン バイク prince purplerain motorcycle

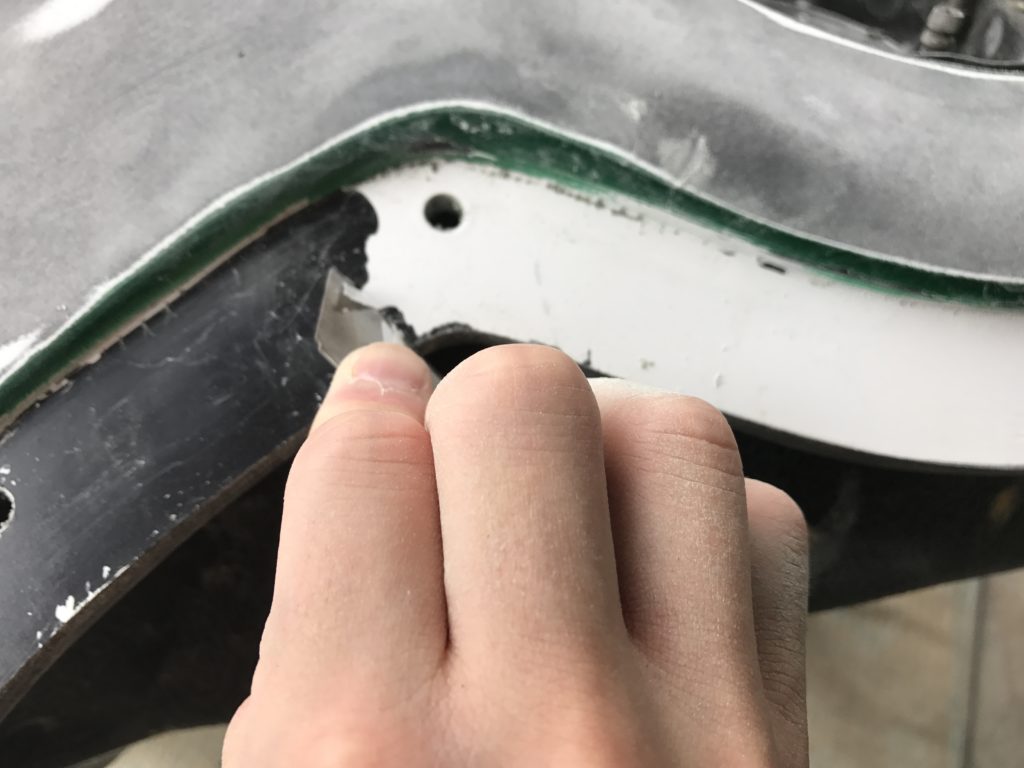
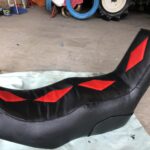
I think it’s a little closer to the cowling in “Purple Rain”.

プリンスパープルレイン バイク prince purplerain motorcycle

I would like the corners to be a little more rounded.

プリンスパープルレイン バイク prince purplerain motorcycle


プリンスパープルレイン バイク prince purplerain motorcycle

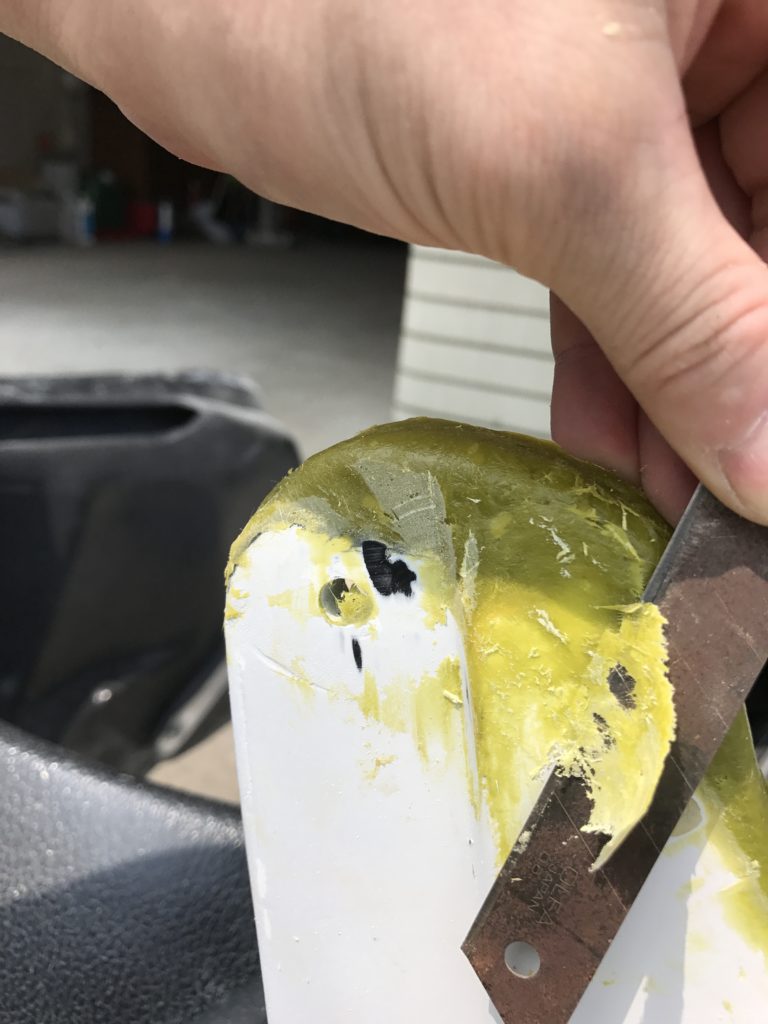
Putty contains fiberglass, which makes it very difficult to scrape off.
Next time, we will proceed with the continuation of this cowl repair and the repair of the gasoline tank.


~archive~
☆Click here for the completed motorcycle☆
Build a Prince’s “Purple Rain” motorcycle㉑
Build a Prince’s “Purple Rain” motorcycle⑳
Build a Prince’s “Purple Rain” motorcycle⑲
Build a Prince’s “Purple Rain” motorcycle⑱
Build a Prince’s “Purple Rain” motorcycle⑰
Build a Prince’s “Purple Rain” motorcycle⑯
Build a Prince’s “Purple Rain” motorcycle⑮
Build a Prince’s “Purple Rain” motorcycle⑭
Build a Prince’s “Purple Rain” motorcycle⑬
Build a Prince’s “Purple Rain” motorcycle⑫
Build a Prince’s “Purple Rain” motorcycle⑪
Build a Prince’s “Purple Rain” motorcycle⑩
Build a Prince’s “Purple Rain” motorcycle⑨
Build a Prince’s “Purple Rain” motorcycle⑧
Build a Prince’s “Purple Rain” motorcycle⑦
Build a Prince’s “Purple Rain” motorcycle⑥
Build a Prince’s “Purple Rain” motorcycle⑤
Build a Prince’s “Purple Rain” motorcycle④
Build a Prince’s “Purple Rain” motorcycle③
Build a Prince’s “Purple Rain” motorcycle②
Build a Prince’s “Purple Rain” motorcycle①

-English edition

執筆者:


comment

Your email address will not be published. Required fields are marked *

CAPTCHA


関連記事

プリンスパープルレイン バイク prince purplerain motorcycle

Builds replica of Prince’s “Purple Rain” motorcycle CM400 in Japan(No. 21)

I’m building a motorcycles for Prince “Purple Rain”(No. 21) ☆Click here for the First article ☆ ☆Click here for the completed motorcycle☆ It’s been two years since I started making motorcycles, but this is the end. This time I polished the exterior and installed the front screen. Hand polish the abrasive. Rough abrasive on the left.    Fine abrasive on the right Polished and cleaned. Also polish the cowling. The scenery is reflected. Correction of plating molding of cowling Install the front shield. Cool! Wearing a seat made with difficulty.   ~archive~ ☆Click here for the completed motorcycle☆ Build a …

プリンスパープルレイン バイク prince purplerain motorcycle

Builds replica of Prince’s “Purple Rain” motorcycle CM400 in Japan(No. 7)

I’m building a motorcycles for Prince “Purple Rain”(No. 7)※paint correction. ☆Click here for the First article ☆ ☆Click here for the completed motorcycle☆ Last time I failed because the red was transparent. Since the work time is limited, I masked the symbol mark and repainted it in purple. Rub the surface with a file. This is to improve the adhesion of the paint. Clean parts with dish soap. Mask only the symbol mark. I painted only the inside of the circle purple. Then paint the other parts purple. The cowling is also masked and painted purple. This is the stage before …

プリンスパープルレイン バイク prince purplerain motorcycle

Builds replica of Prince’s “Purple Rain” motorcycle CM400 in Japan(No. 9)

I’m building a motorcycles for Prince “Purple Rain”(No. 9) ☆Click here for the First article ☆ ☆Click here for the completed motorcycle☆ Last time I finished working on the exterior. This time it is wiring adjustment, cowling stay adjustment, sissy bar work. Wrap the wiring near the headlight with food wrap. It is waterproof. Then wrap it in a plastic sheet for gardening. compact. The mounting position of the cowl and stay is slightly misaligned, so adjustment is required. Take a mold with aluminum foil and make a spacer. I’m thinking of a light and soft spacer. Cut off the excess …

プリンスパープルレイン バイク prince purplerain motorcycle

Builds replica of Prince’s “Purple Rain” motorcycle CM400 in Japan(No. 14)

I’m building a motorcycles for Prince “Purple Rain”(No. 14) ☆Click here for the First article ☆ ☆Click here for the completed motorcycle☆ I thought there was no part to fix the headlight lens, but there was. It seems to cover this ring from the top of the lens and fix it with a screw. I didn’t know this method last time. Finally, attach the headlight to the cowling. Mask the cowling so that it is not damaged. It has a unique retro feel not found in recent motorcycles. It’s like a living creature. Next, install the side blinkers. This “Windjammer 2” had a side …

プリンスパープルレイン バイク prince purplerain motorcycle

Builds replica of Prince’s “Purple Rain” motorcycle CM400 in Japan(No. 15)

I’m building a motorcycles for Prince “Purple Rain”(No. 15) ☆Click here for the First article ☆ ☆Click here for the completed motorcycle☆ Continuation of cowling production. Since the plating of the side blinker had deteriorated, I decided to put a plating sheet on it. Lightly sand the whole thing. I tried pasting the plated sheet, but the corner part can’t be pasted well. Trial and error, but crumpled. I decided to give up the plated sheet and paint it with silver. Scrape off the plated part to remove the step. I use instant glue instead of putty. I blew primer, blew surfacer, and painted …