Crafts experience

〜I built a motorcycle based on Prince's "Purple Rain" in Japan, so I'll show you the process of making it.〜

English edition

Building Prince’s Purple Rain Motorcycle Replica (Honda CM400T Custom) in Japan – No. 7

投稿日:2026年3月3日 更新日:


I’m building a motorcycles for Prince “Purple Rain”(No. 7)※paint correction.

☆Click here for the First article ☆
☆Click here for the completed motorcycle☆

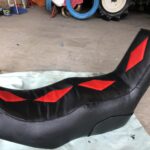
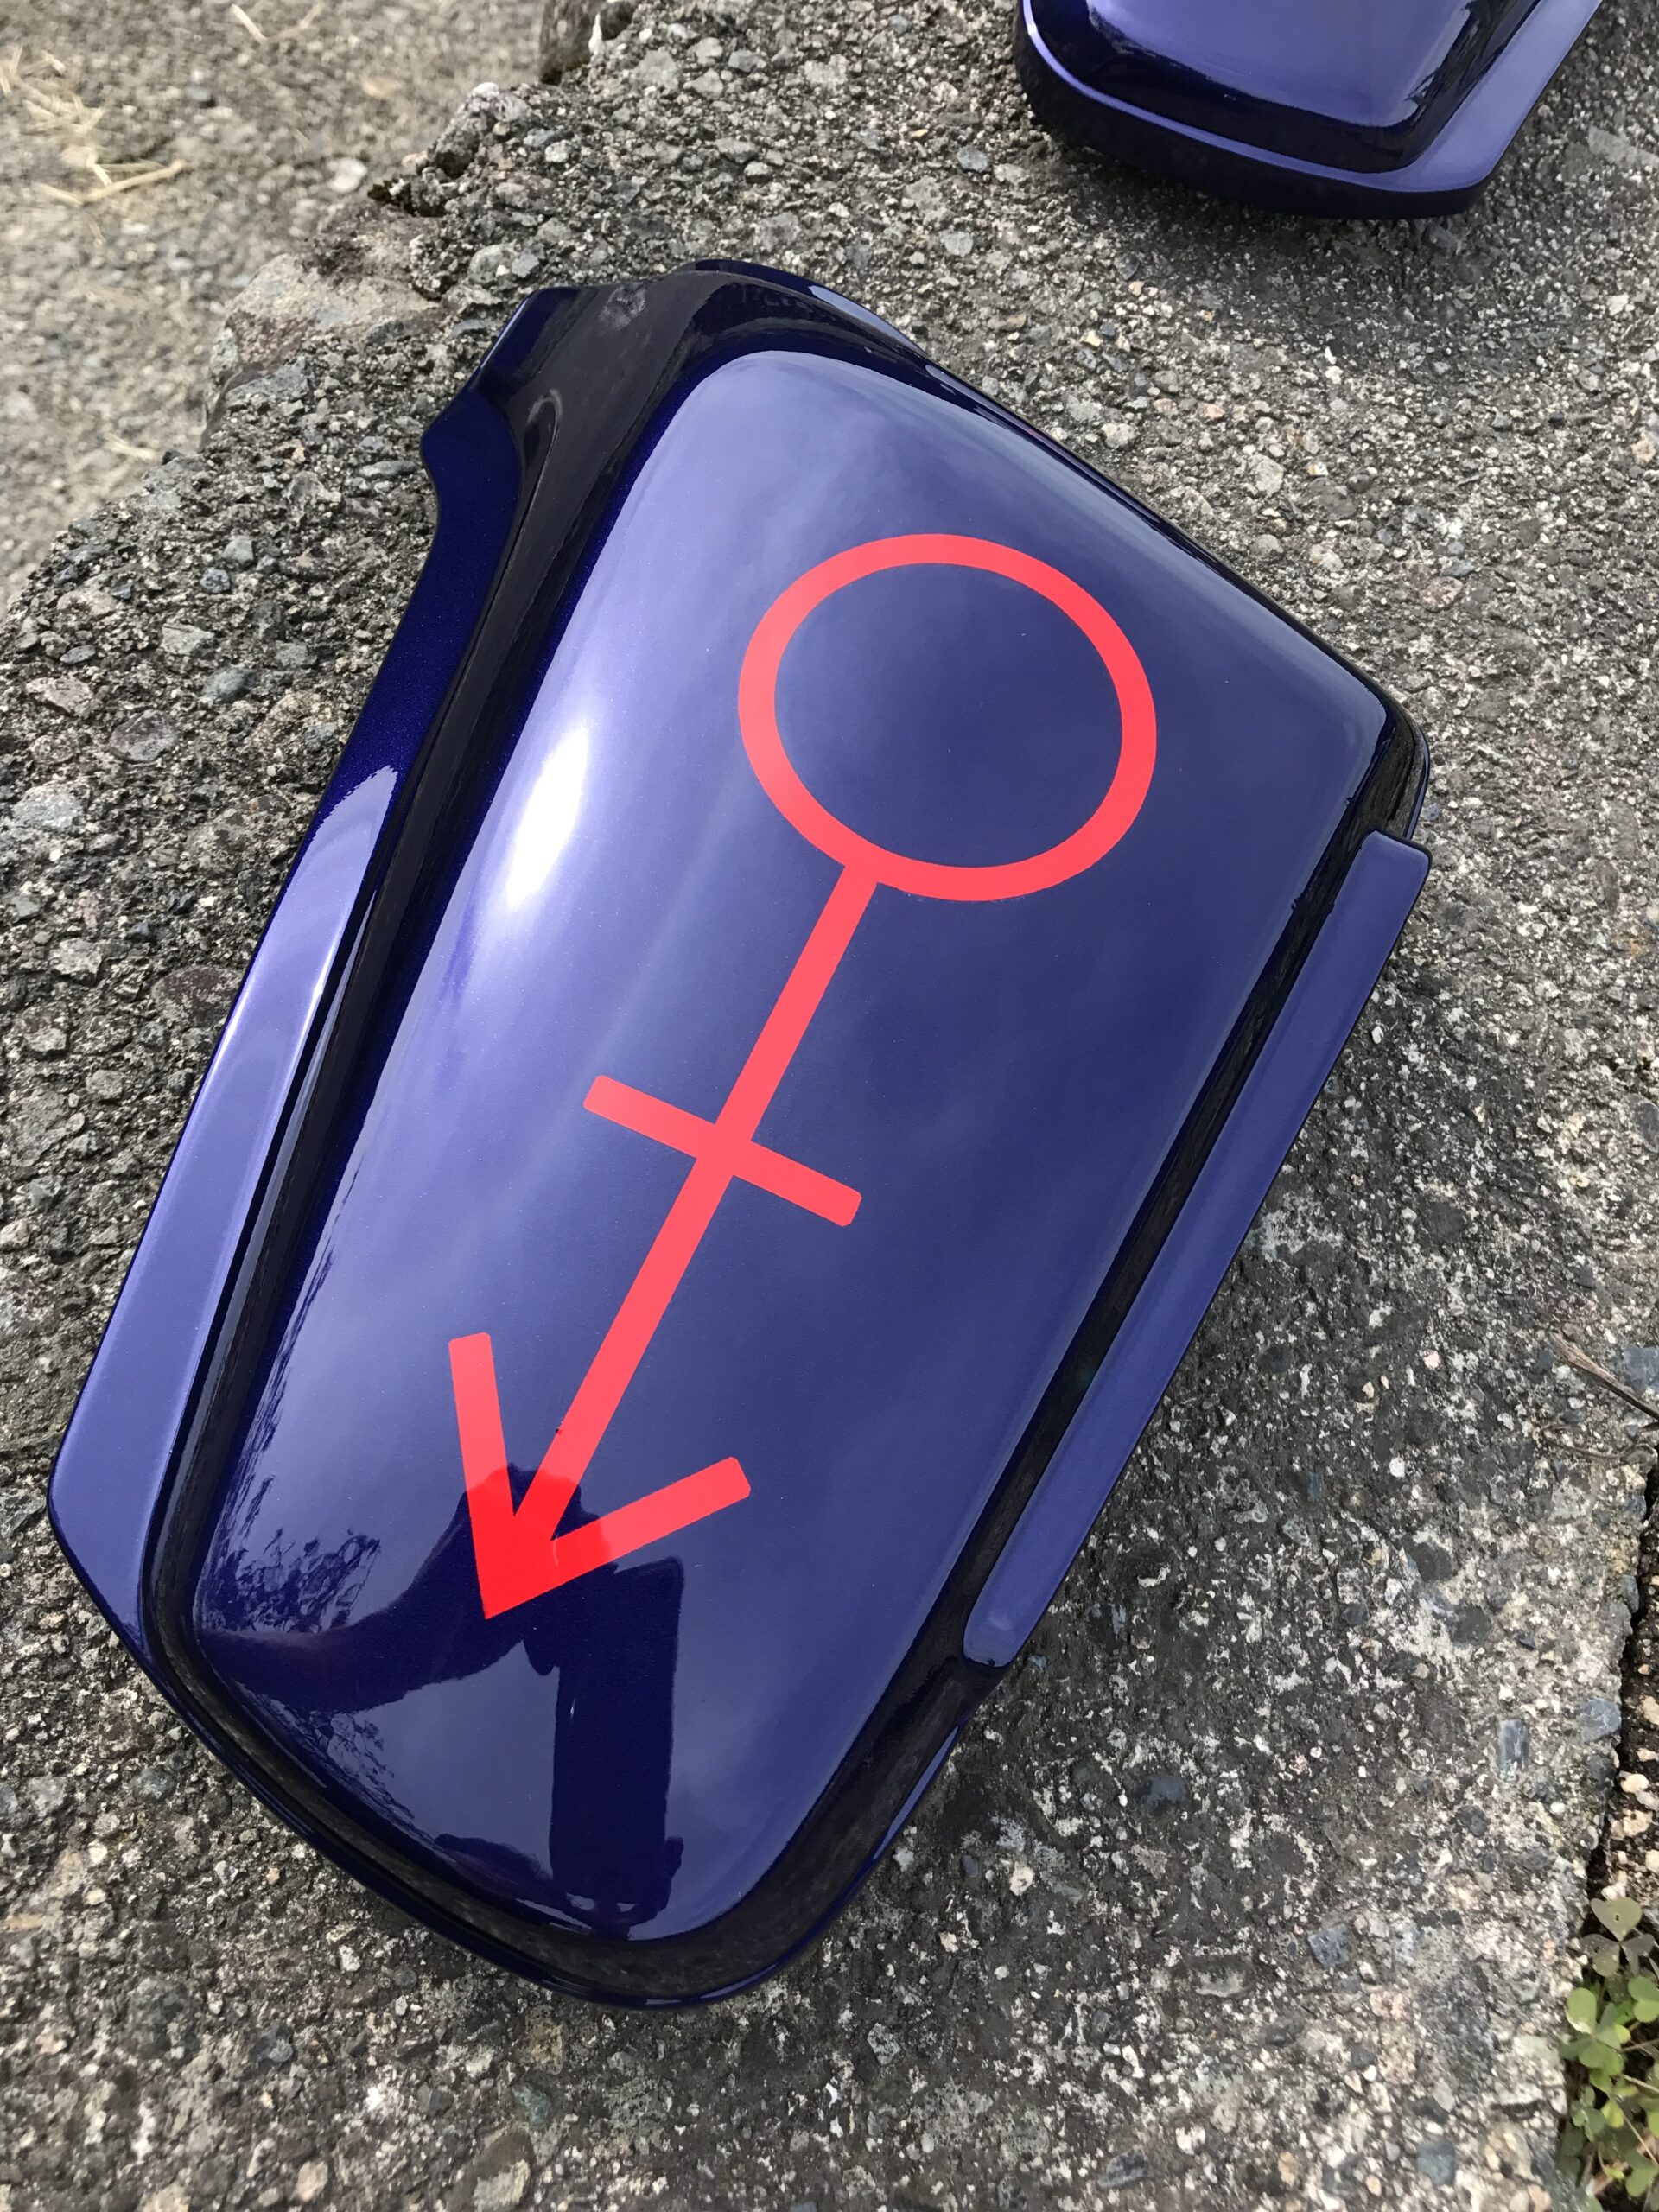
Last time I failed because the red was transparent. Since the work time is limited, I masked the symbol mark and repainted it in purple.

Prince Purple Rain motorcycle replica Honda CM400T

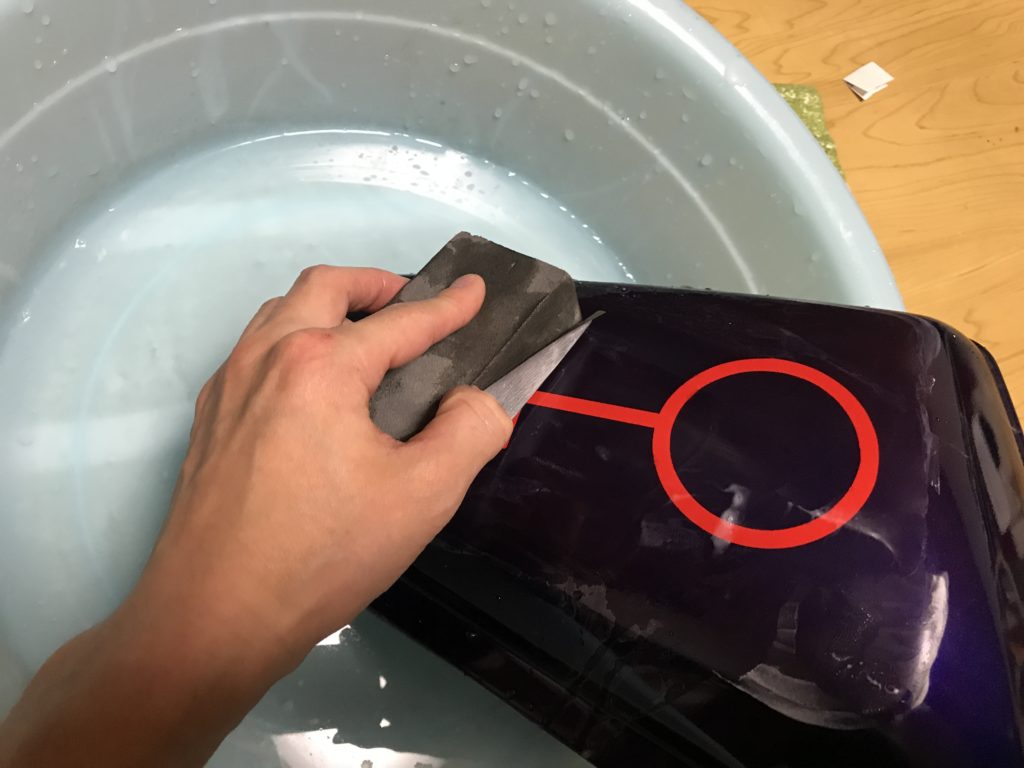
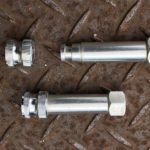
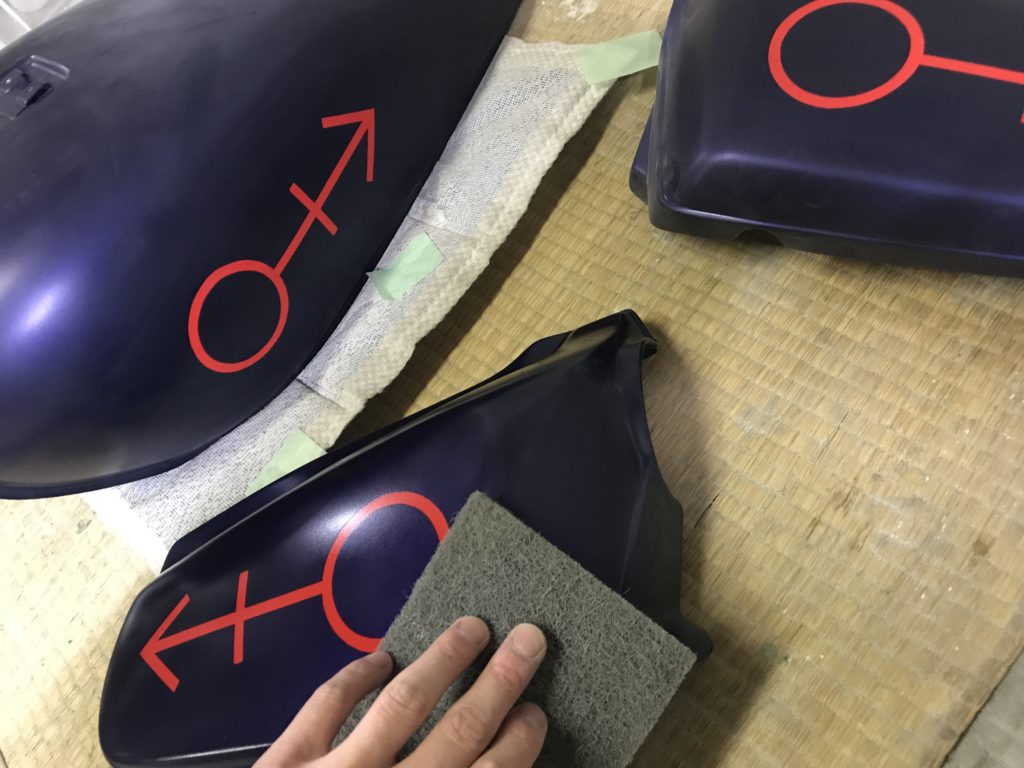
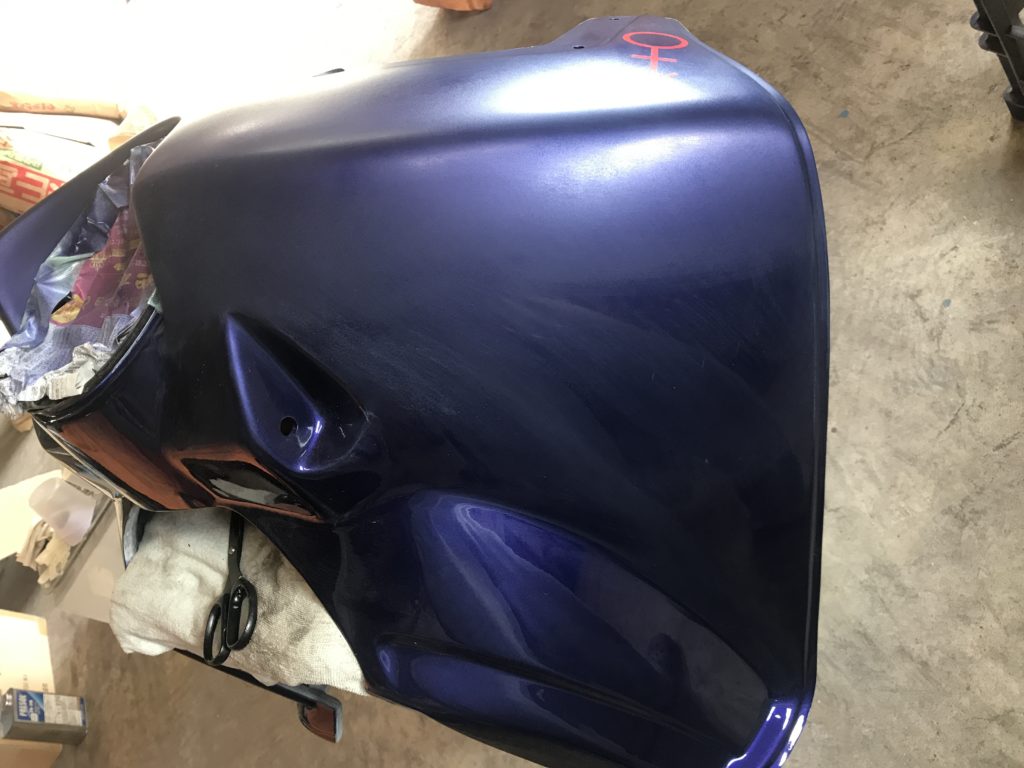
Rub the surface with a file. This is to improve the adhesion of the paint.

Prince Purple Rain motorcycle replica Honda CM400T

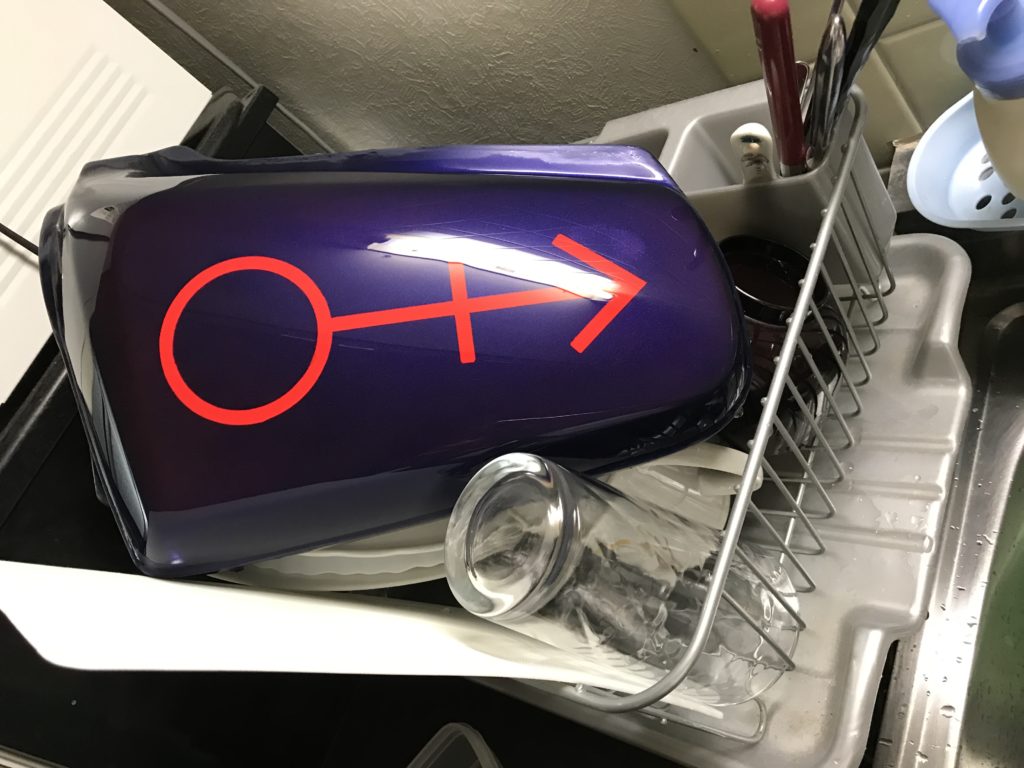
Clean parts with dish soap.

Prince Purple Rain motorcycle replica Honda CM400T

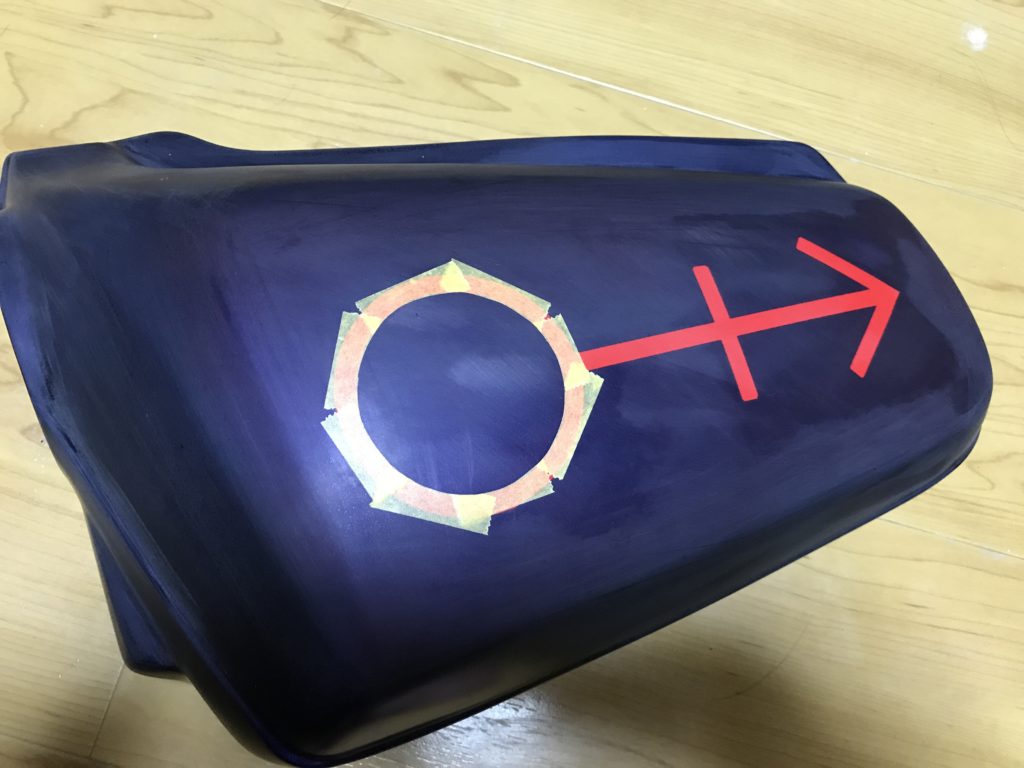
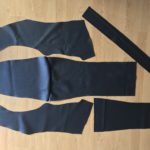
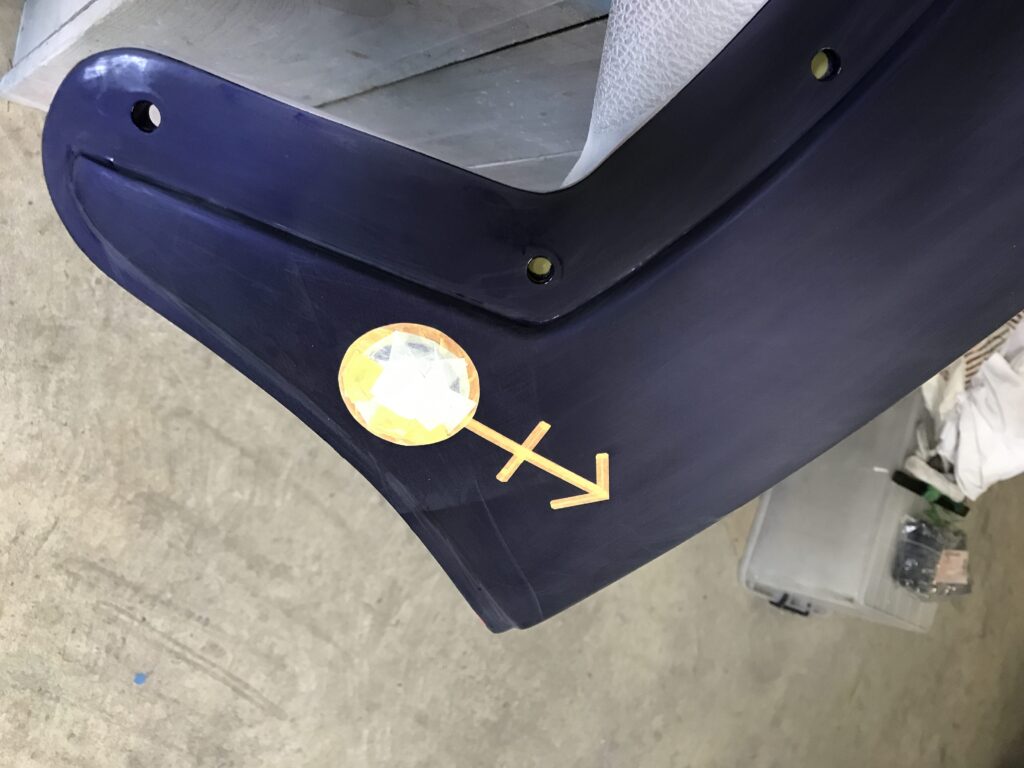
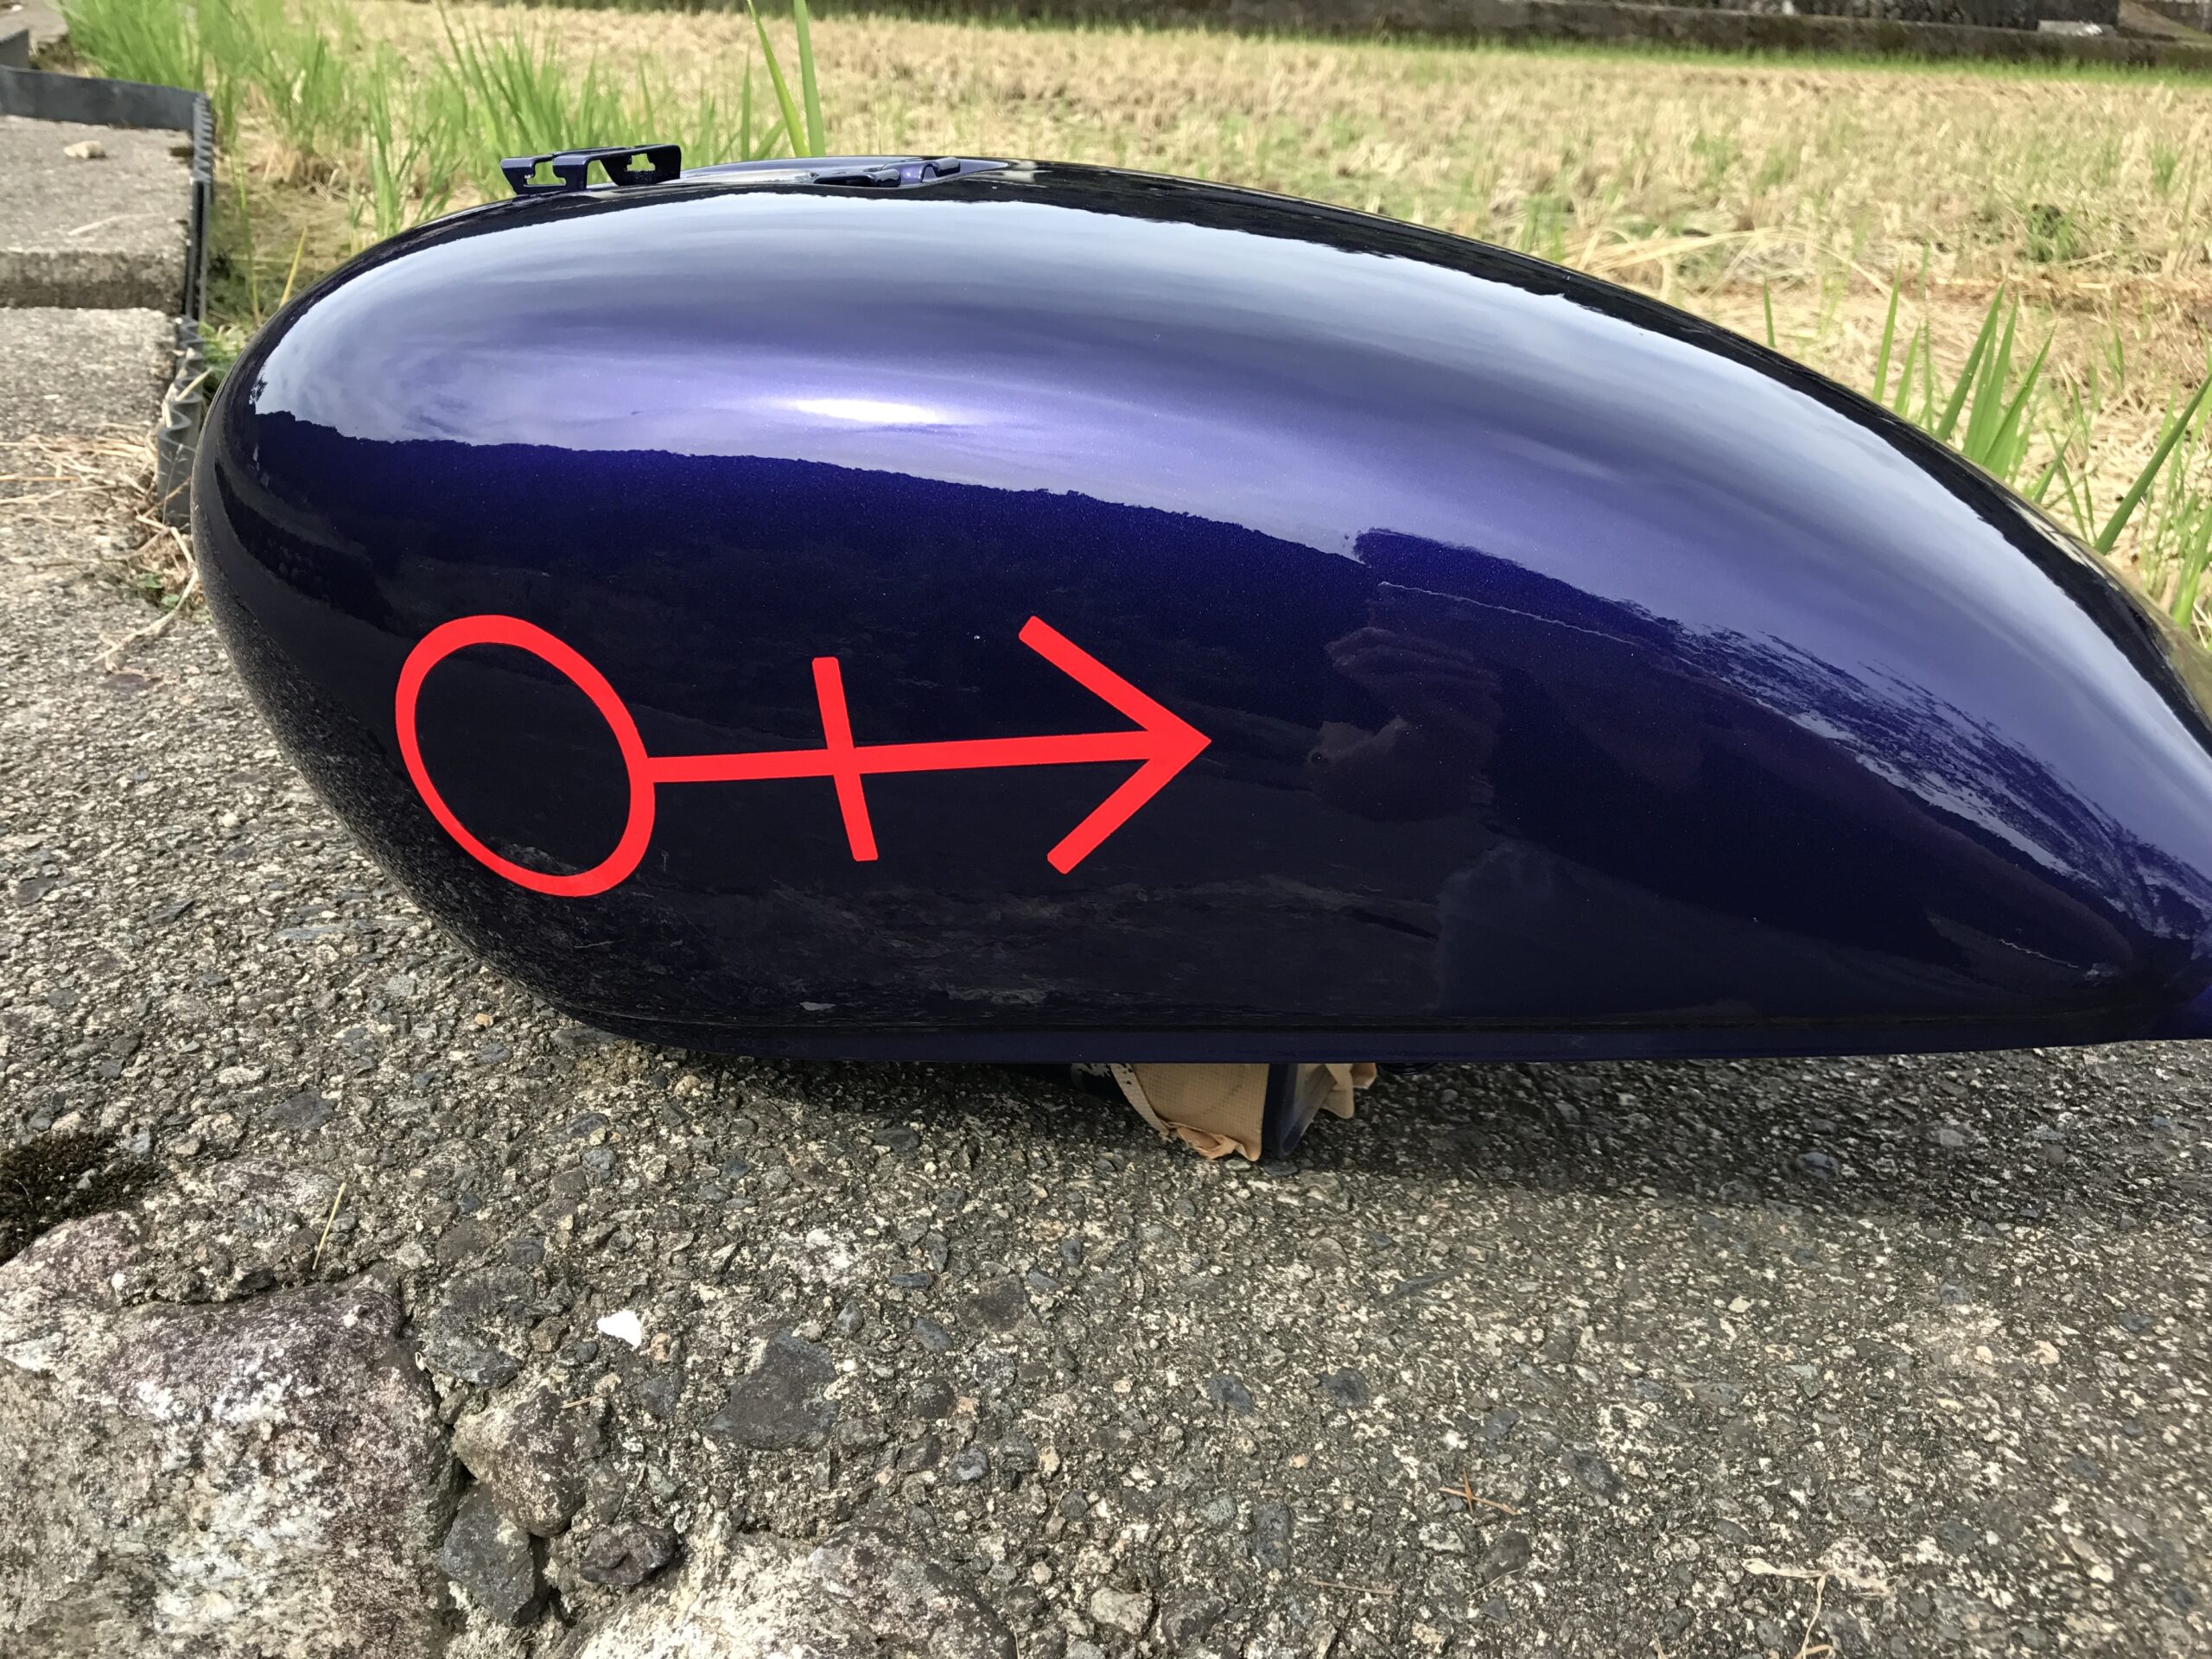
Mask only the symbol mark.

Prince Purple Rain motorcycle replica Honda CM400T

I painted only the inside of the circle purple.

Prince Purple Rain motorcycle replica Honda CM400T

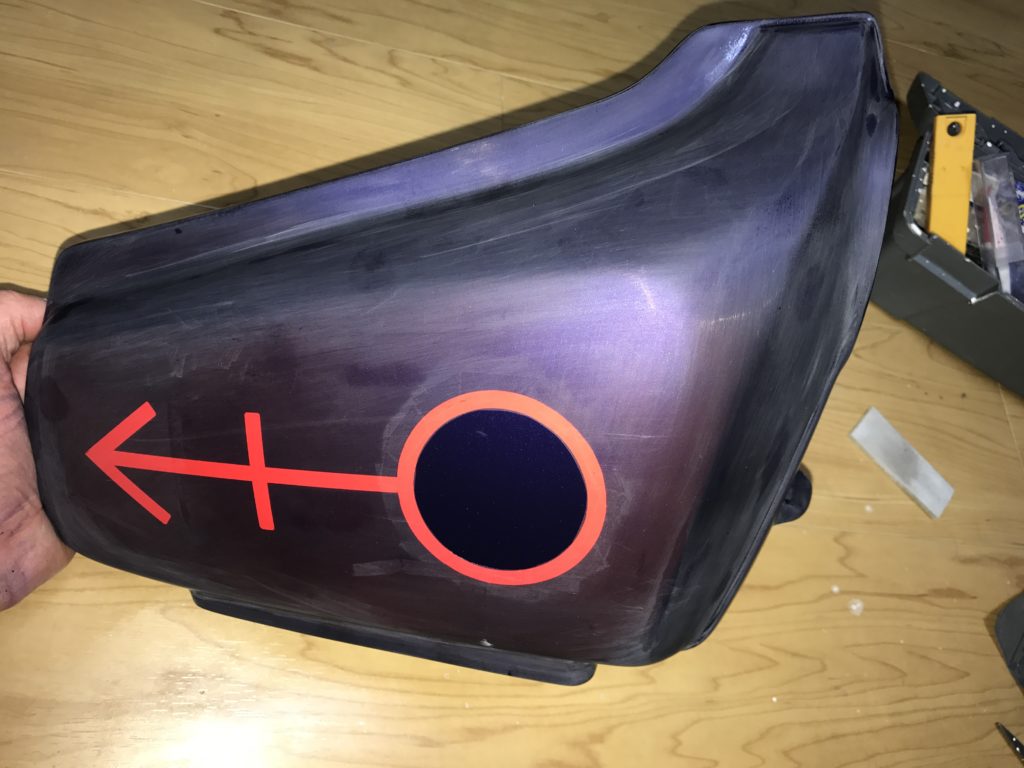
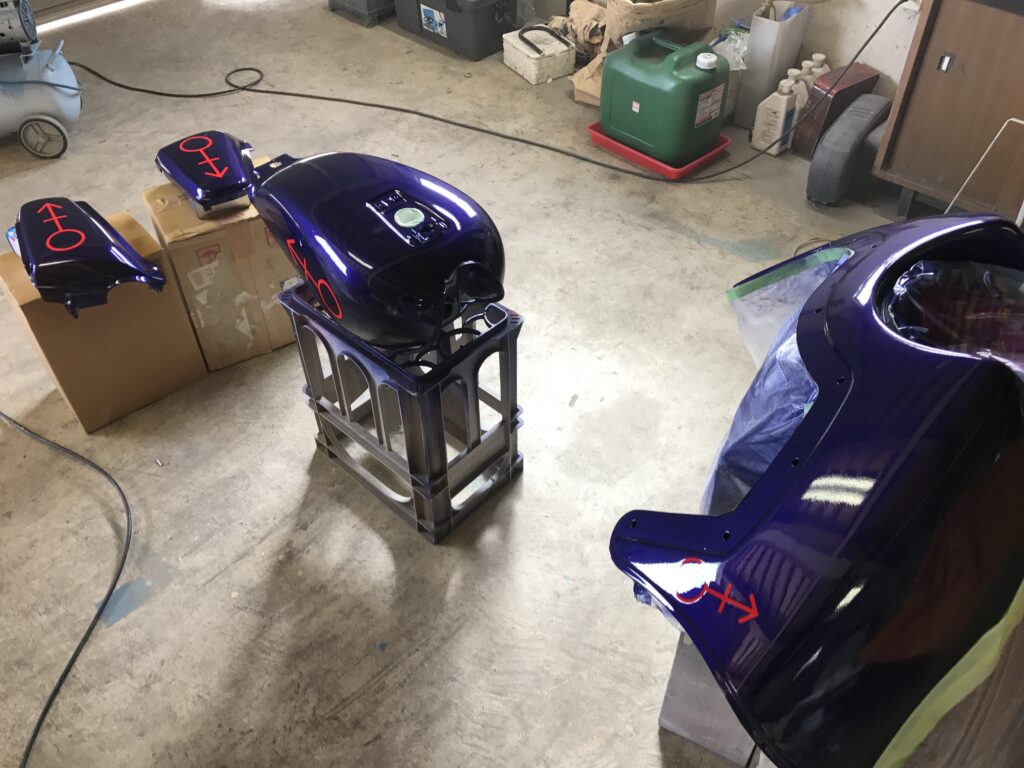
Then paint the other parts purple.

Prince Purple Rain motorcycle replica Honda CM400T

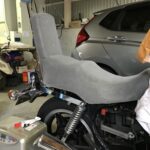
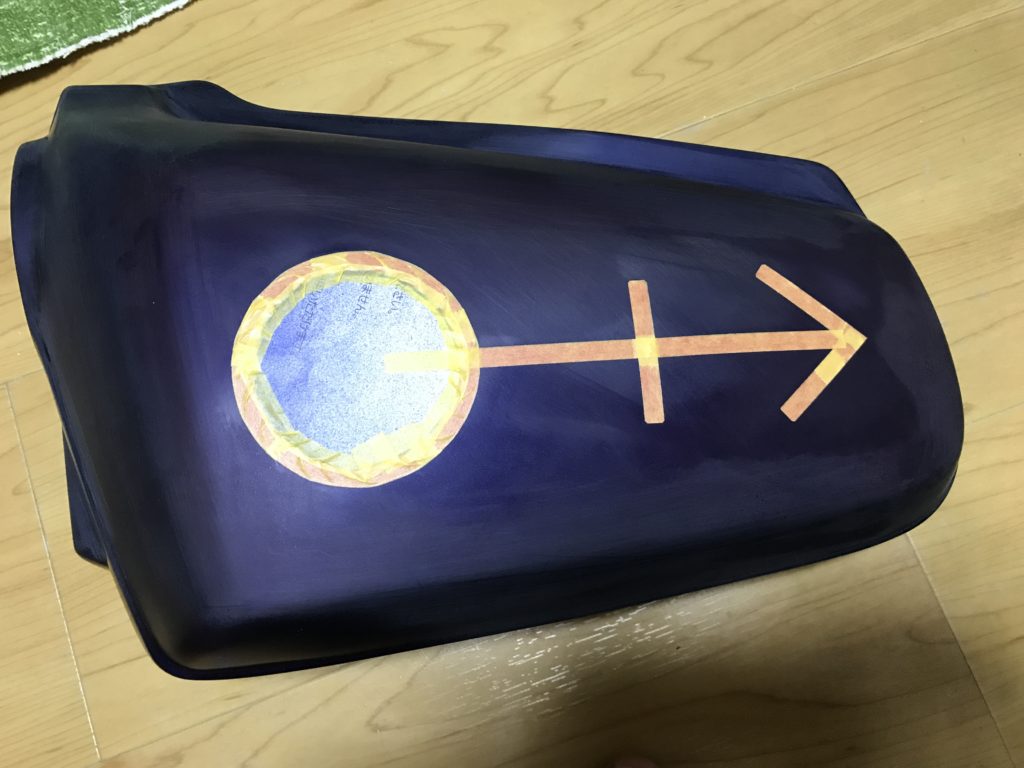
The cowling is also masked and painted purple.

Prince Purple Rain motorcycle replica Honda CM400T

Prince Purple Rain motorcycle replica Honda CM400T

Prince Purple Rain motorcycle replica Honda CM400T

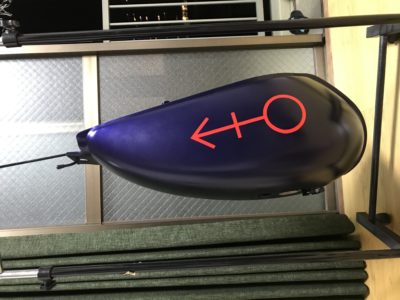
This is the stage before clear coating. Not glossy.

Prince Purple Rain motorcycle replica Honda CM400T

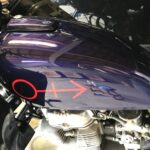
Only the upper part of the cowling was repainted. Makes borders less noticeable.
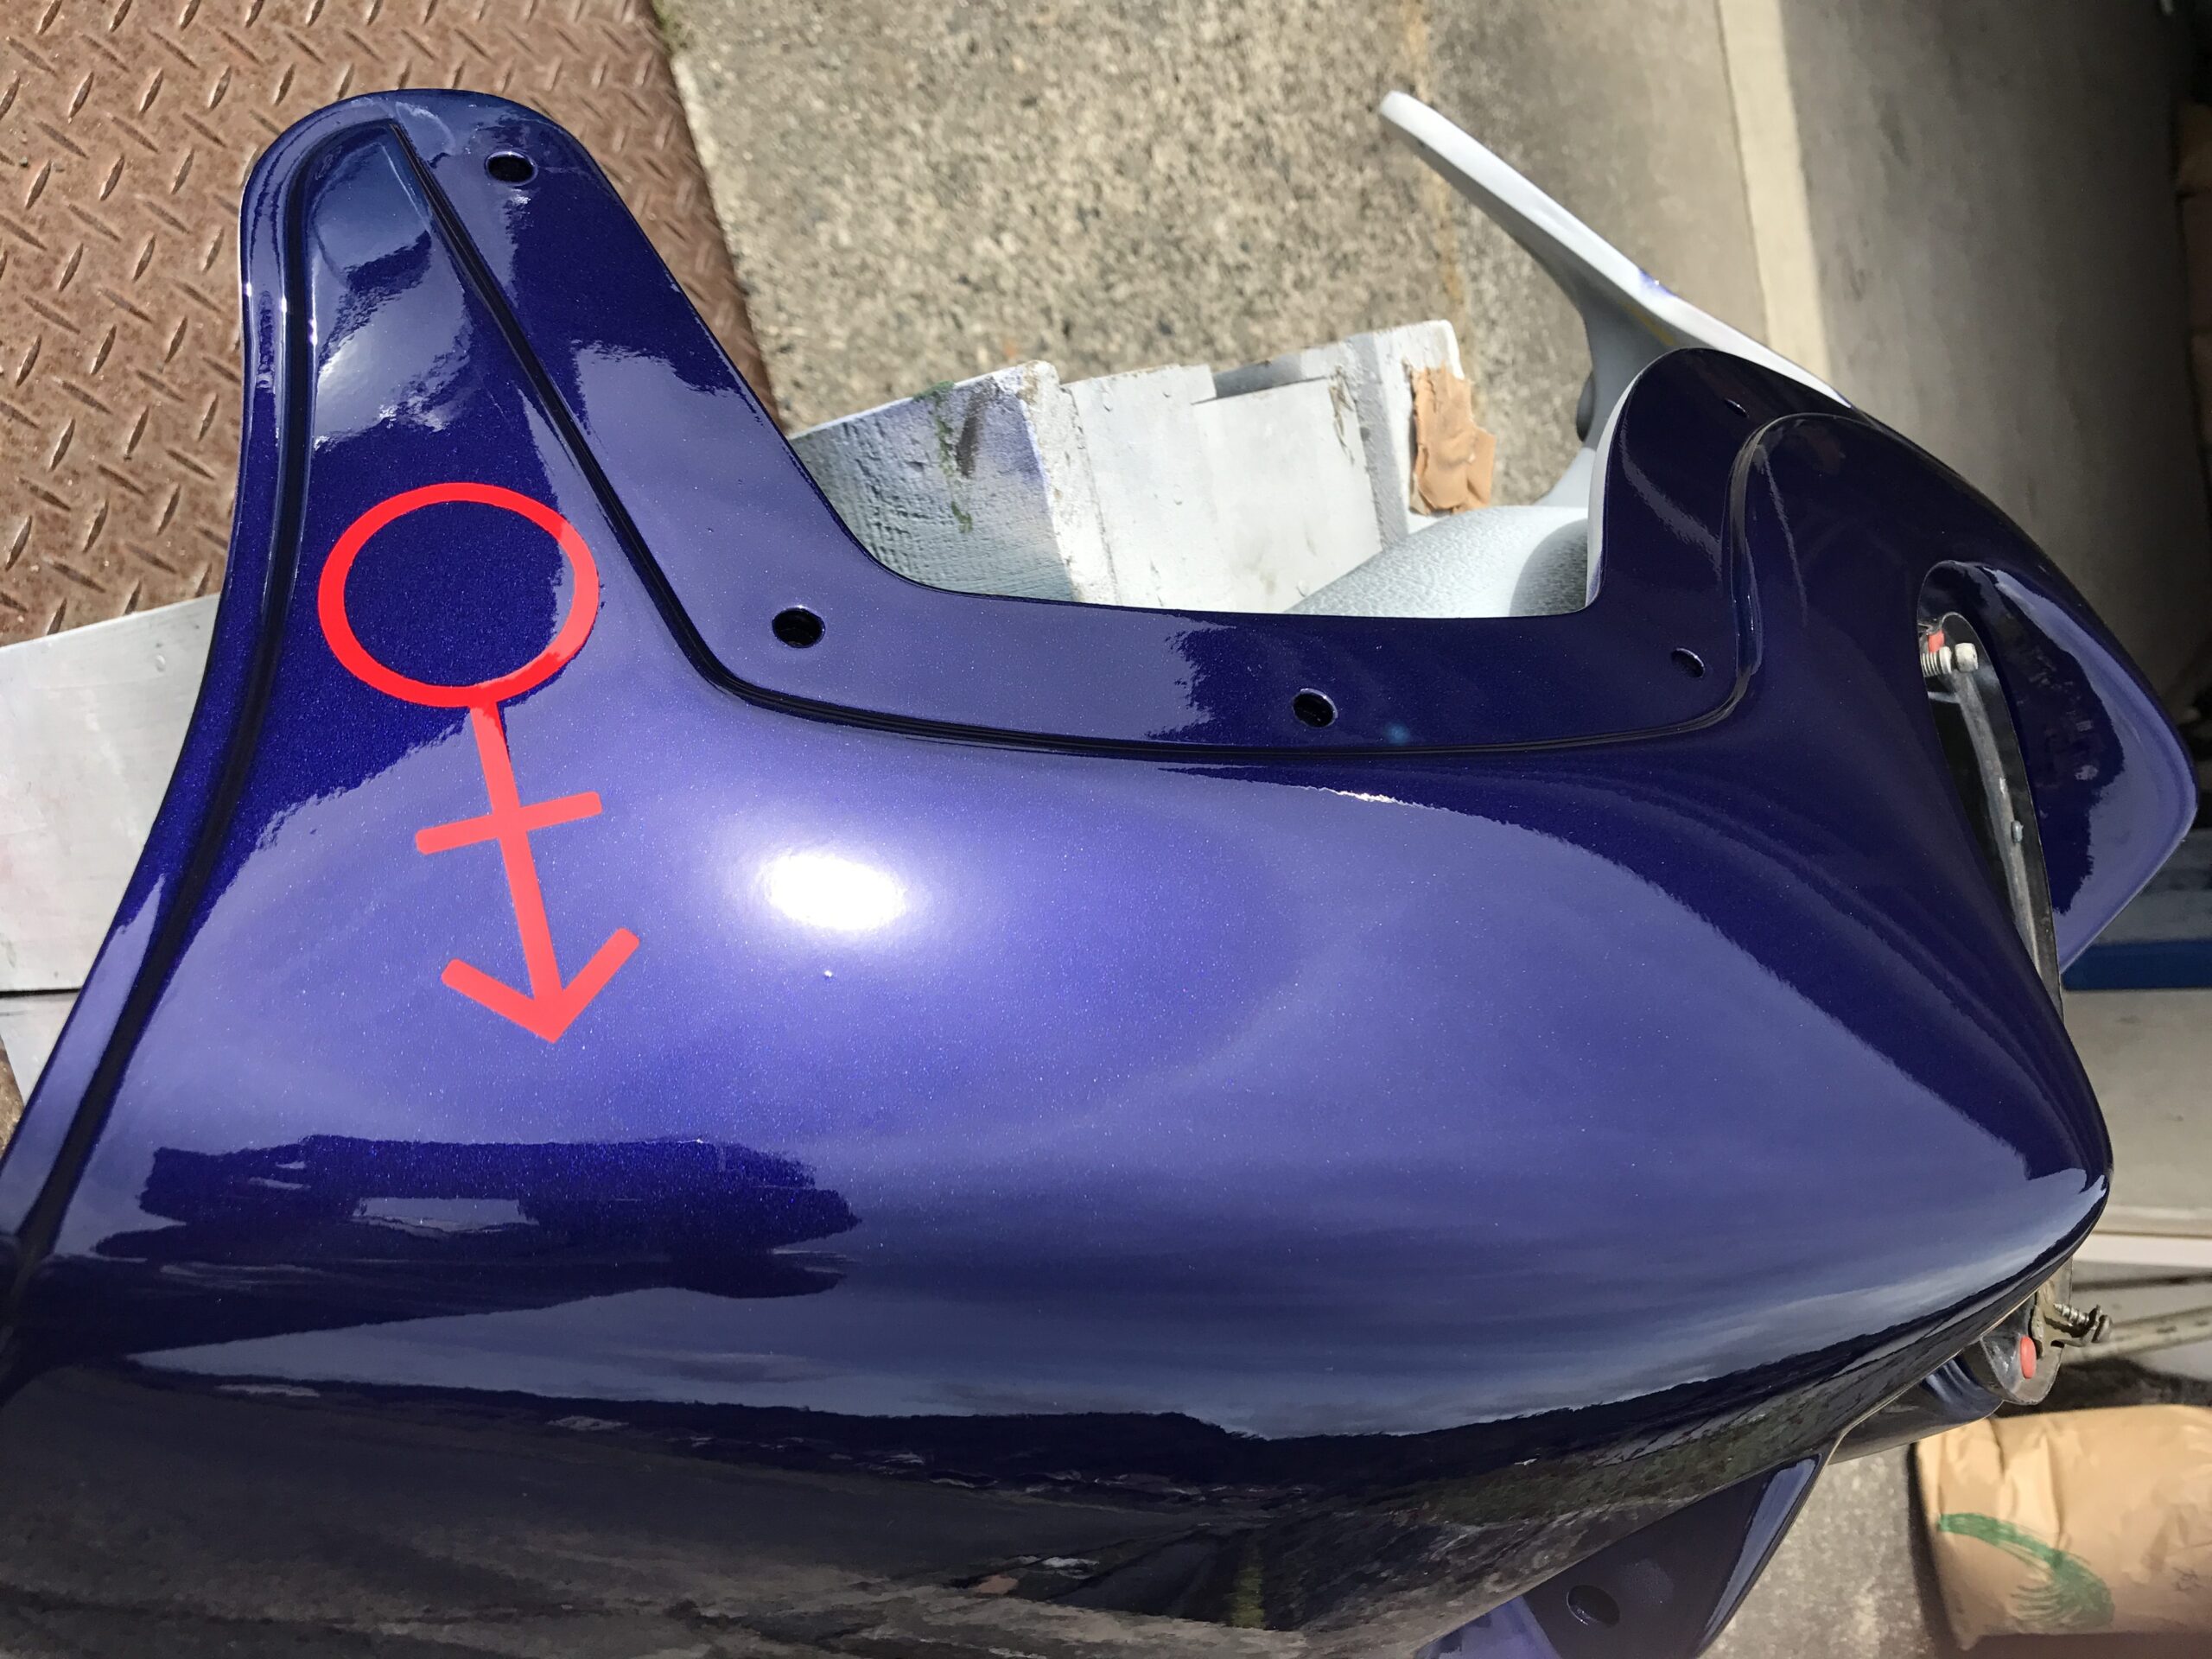
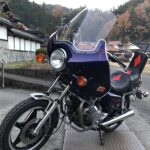
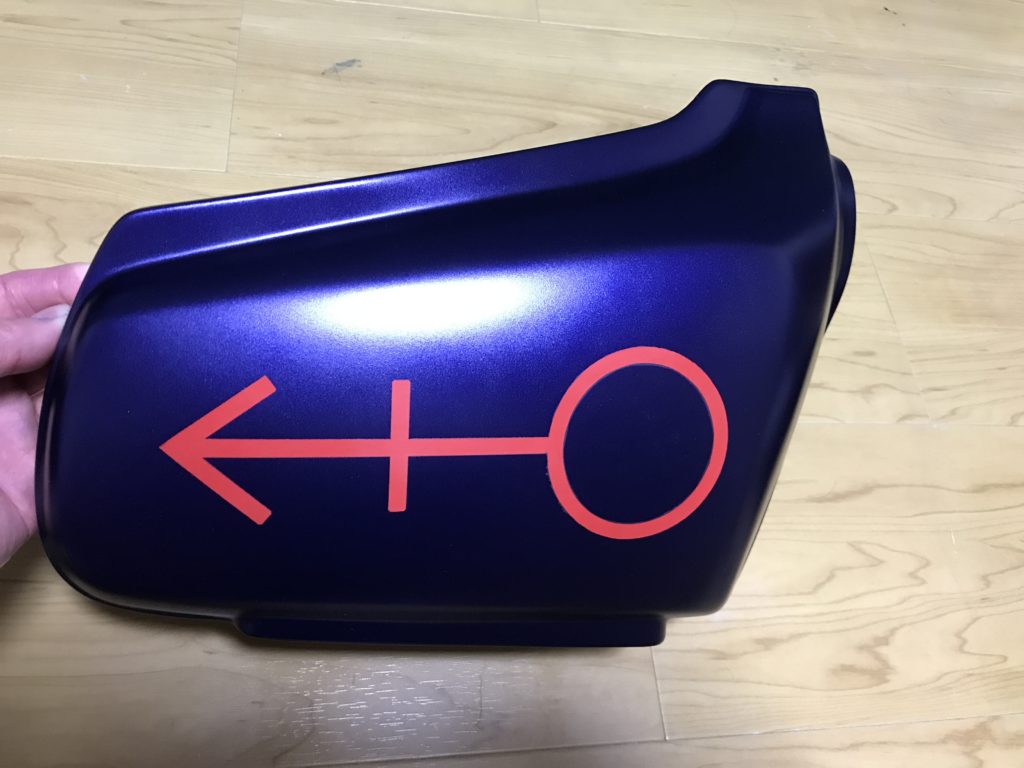
Prince Purple Rain motorcycle replica Honda CM400T


Prince Purple Rain motorcycle replica Honda CM400T

Prince Purple Rain motorcycle replica Honda CM400T

Prince Purple Rain motorcycle replica Honda CM400T

Fixed. I can’t wait to finish it.


~archive~
☆Click here for the completed motorcycle☆
Building a Prince’s “Purple Rain” motorcycle Replica㉑
Building a Prince’s “Purple Rain” motorcycle Replica⑳
Building a Prince’s “Purple Rain” motorcycle Replica⑲
Building a Prince’s “Purple Rain” motorcycle Replica⑱
Building a Prince’s “Purple Rain” motorcycle Replica⑰
Building a Prince’s “Purple Rain” motorcycle Replica⑯
Building a Prince’s “Purple Rain” motorcycle Replica⑮
Building a Prince’s “Purple Rain” motorcycle Replica⑭
Building a Prince’s “Purple Rain” motorcycle Replica⑬
Building a Prince’s “Purple Rain” motorcycle Replica⑫
Building a Prince’s “Purple Rain” motorcycle Replica⑪
Building a Prince’s “Purple Rain” motorcycle Replica⑩
Building a Prince’s “Purple Rain” motorcycle Replica⑨
Building a Prince’s “Purple Rain” motorcycle Replica⑧
Building a Prince’s “Purple Rain” motorcycle Replica⑦
Building a Prince’s “Purple Rain” motorcycle Replica⑥
Building a Prince’s “Purple Rain” motorcycle Replica⑤
Building a Prince’s “Purple Rain” motorcycle Replica④
Building a Prince’s “Purple Rain” motorcycle Replica③
Building a Prince’s “Purple Rain” motorcycle Replica②
Building a Prince’s “Purple Rain” motorcycle Replica①

-English edition

執筆者:


comment

Your email address will not be published. Required fields are marked *

CAPTCHA


関連記事

prince-purple-rain-motorcycle-honda-cm400-build

Building Prince’s Purple Rain Motorcycle Replica (Honda CM400T Custom) in Japan – No. 18

I’m building a motorcycles for Prince “Purple Rain”(No. 18) ☆Click here for the First article ☆ ☆Click here for the completed motorcycle☆   Well, the continuation of the motorcycle production. I noticed that the angle of the seat backrest was skewed. Now that the plating of the sissy bar is complete, it’s time to readjust the fittings and secure them to the seat base. I asked the contractor who requested the plating of the engine guard 10 years ago. The plating was of very high quality. Weld marks are no longer visible. Sissy bar is like new. Fix the seat base. Peel …

Building Prince’s Purple Rain Motorcycle Replica (Honda CM400T Custom) in Japan – No. 14

I’m building a motorcycles for Prince “Purple Rain”(No. 14) ☆Click here for the First article ☆ ☆Click here for the completed motorcycle☆ I thought there was no part to fix the headlight lens, but there was. It seems to cover this ring from the top of the lens and fix it with a screw. I didn’t know this method last time. Finally, attach the headlight to the cowling. Mask the cowling so that it is not damaged. It has a unique retro feel not found in recent motorcycles. It’s like a living creature. Next, install the side blinkers. This “Windjammer 2” had a side …

Building Prince’s Purple Rain Motorcycle Replica (Honda CM400T Custom) in Japan – No. 13

I’m building a motorcycles for Prince “Purple Rain”(No. 13) ☆Click here for the First article ☆ ☆Click here for the completed motorcycle☆ Last time I made a sissy bar and cowling stay. I installed a spacer because there was a gap between the sissy bar stay and the main body. Fits without gaps. The sissy bar fitting is now complete. After that, just send it to the plating shop. Cut the excess part of the cowl stay to give a sharp impression. Install headlights. Ported from the conventional cowling. The shape of the light stay differs depending on the type of “Windjammer”. The “Windjammer 4” …

Building Prince’s Purple Rain Motorcycle Replica (Honda CM400T Custom) in Japan – No. 15

I’m building a motorcycles for Prince “Purple Rain”(No. 15) ☆Click here for the First article ☆ ☆Click here for the completed motorcycle☆ Continuation of cowling production. Since the plating of the side blinker had deteriorated, I decided to put a plating sheet on it. Lightly sand the whole thing. I tried pasting the plated sheet, but the corner part can’t be pasted well. Trial and error, but crumpled. I decided to give up the plated sheet and paint it with silver. Scrape off the plated part to remove the step. I use instant glue instead of putty. I blew primer, blew surfacer, and painted …

Building Prince’s Purple Rain Motorcycle Replica (Honda CM400T Custom) in Japan – No. 12

I’m building a motorcycles for Prince “Purple Rain”(No. 12) ☆Click here for the First article ☆ ☆Click here for the completed motorcycle☆ Finally I was able to attach the cowling to the main body. It took time to adjust the stay side. I made a spacer because the cowling and stay interfere. Hard styrene material. I cut it out in the shape of the contact surface of the cowli I used 3 spacers. Adequate cushioning. I drilled a hole for the bolt. I put it between the cowling and the stay. The cowling and stay are attached with 4 bolts. It’s made of …